Lighting is like the mascara of interior design—it can completely change the mood, highlight your best features, and hide a bad day (or dated sofa). If your rooms feel a little… flat, the fix might not be more stuff—it might be better light. Designers use a layered lighting approach to make a space feel intentional, cozy, and pulled together. Here's how to do the same, without blowing your budget.
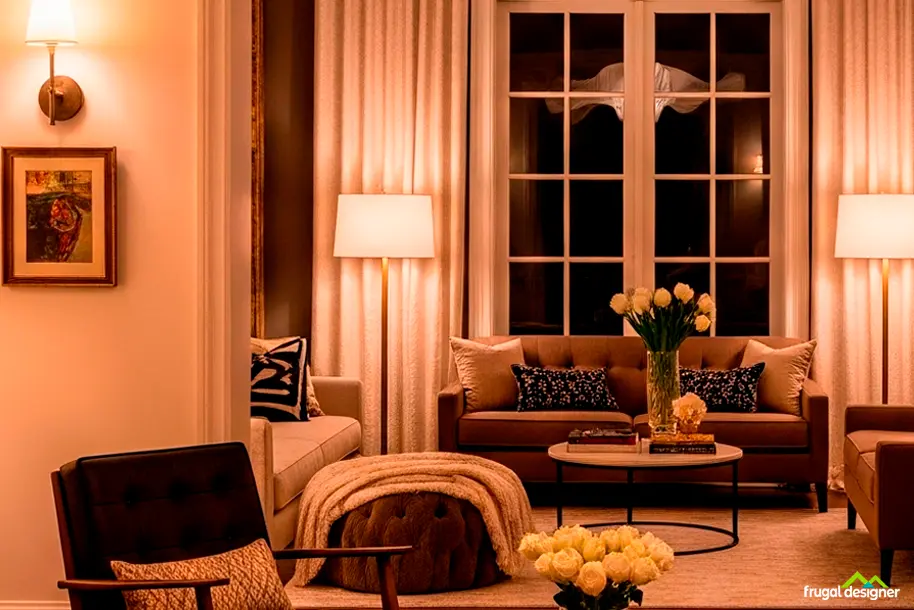
Ambient lighting is the overall glow that fills the room—your ceiling fixtures, flush mounts, or pendants. Think of it as the base layer of your makeup routine: it sets the tone. Good ambient lighting should feel soft, warm, and evenly distributed, not harsh or overly bright. If your space feels stark or shadowy, this is the layer to fix first.
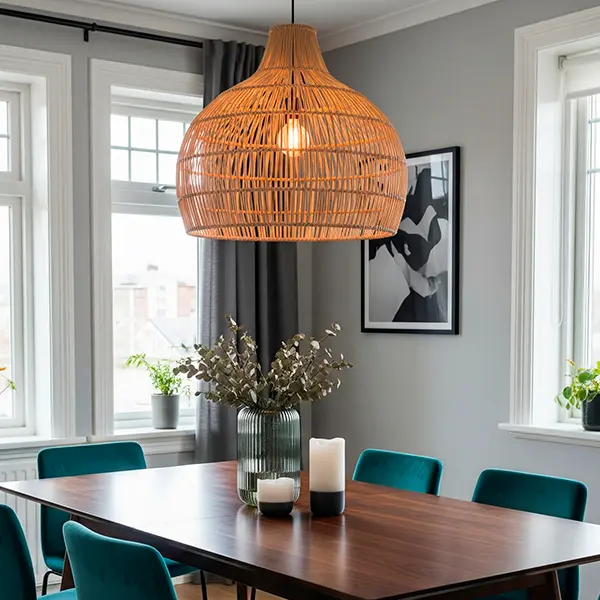
Frugal Tip: Replace builder-grade dome lights with a statement fixture (yes, even from Amazon or IKEA). A chic rattan pendant or brass dome makes a big impact (plus some lovely texture!) for $60 or less.
This is your focused lighting—desk lamps, reading sconces, kitchen under-cabinet lights.
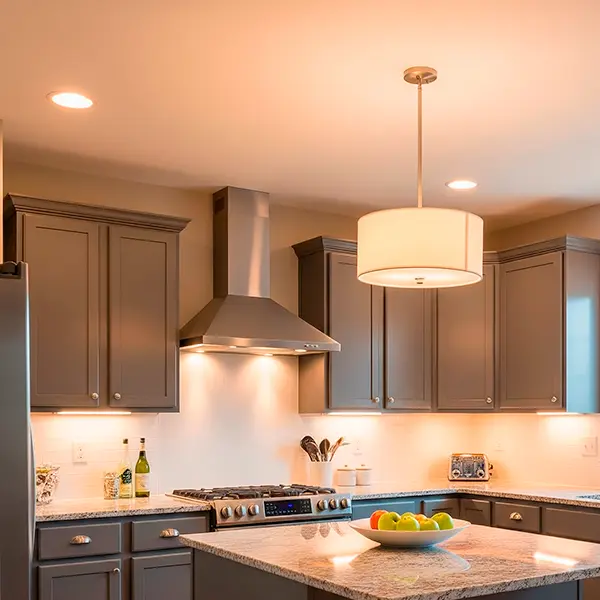
Frugal Tip: Skip the pricey designer lamps and look for plug‑in sconces, clamp lamps, or LED under‑cabinet strips. You can get a whole set of warm‑white LED strips for under $25, and they instantly make kitchens, bookshelves, and desks feel more intentional.
Accent lights highlight your favorite corners—picture lights above art, a floor lamp in a reading nook, or a glowing lamp on a console.

Frugal Tip: Use small table lamps or LED puck lights to spotlight shelves, art, or architectural details. Puck lights with remote dimmers are under $20 and can fake the look of built‑in lighting without any wiring.